The Best Way To Back Up Your Music
What is “backing up” music
Backing up simply means, duplicating all of your files to another location which isn’t your computer.
Majority of people back up to an external hard drive. If you have an Apple computer, then you may use Time Machine, which automatically backs up the entire computer.
The reason we back-up our files is so if we lose our computer or it simply crashes, we don’t loose all of the hard work we put into our music. We can simply transfer our files across to a new computer.
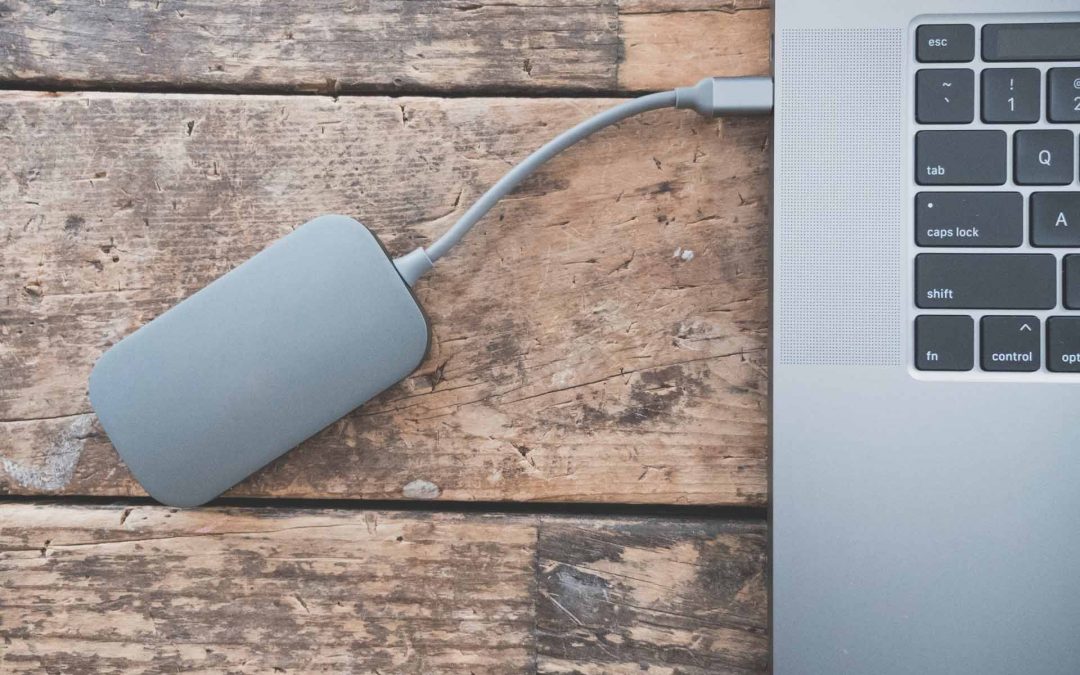
What’s wrong with using an external hard drive?
There is nothing wrong with an external hard drive. However it is not the safest way to back up or music.
External hard drives can break by dropping, or even old age. If you move around a lot you can also easily lose it, or it can be stolen (especially if it is in the same bag as your laptop).
I have a few friends that have forgotten their bags on the tram which contained both laptop and hard drive.
So what’s the “Safest” way?
I think the best way to back up your music files is to use a third party, online file storage program such as Dropbox or Google Drive.
I use Dropbox, so I will use that as a walkthrough to show you why it’s so valuable.
First of all, the files are stored online. This means the files can’t be lost, or stolen, or damaged due to a broken hard drive.
My favourite reason for using this system though, is because it automatically syncs to Dropbox. That means as you work on your music, your computer is automatically backing it up.
Now it is important to note, I will be using an Apple laptop for this walkthrough as I do not own a Windows computer.
How to set Dropbox up
First of all you’re going to have to create an account with Dropbox.
https://www.dropbox.com/plans
Unfortunately their free plan only allows for 2gb of storage, which most likely isn’t enough.
However in my opinion, having your music backed up is well worth the money.
The 2tb plan is probably the best option for anyone on a budget.
Once you’ve created an account, make sure you download the Dropbox App.
Once you have installed the app, given it permission to everything it needs, open the application and log in.
Now you can use the app to make changes, upload etc, however we are going to just use the Apple finder folder instead.
If you open your finder folder, you should now see a Dropbox folder in the left hand panel.
Anything in this folder will automatically sync with Dropbox.
So the next step is to make a folder called “Music”. This is where all of your project folders will be created and stored.
Now when ever you save, record, consolidate, all of those files will automatically upload to dropbox.
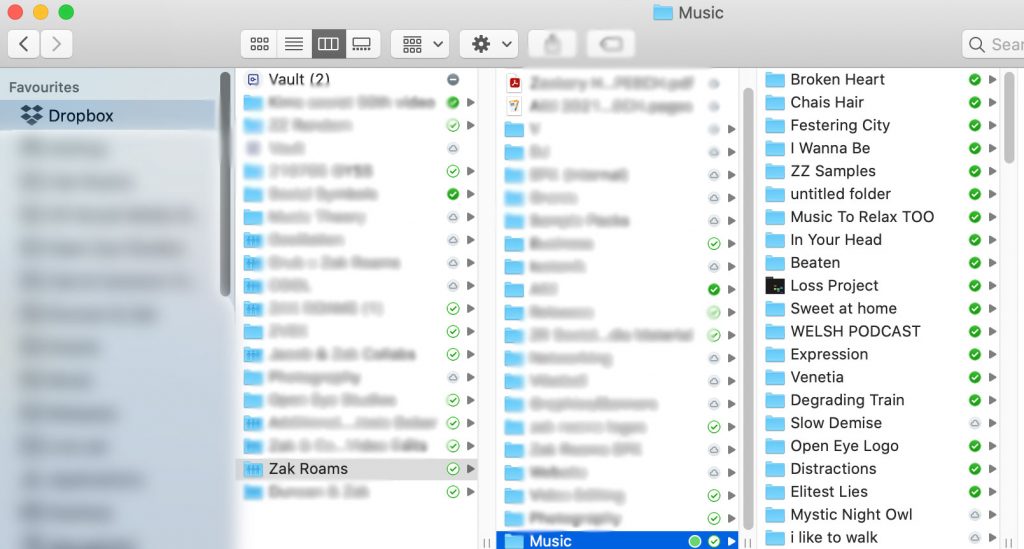
Its good to practice make a brand new folder for each Ableton Project, and then save the Ableton Project in those folders.
You can see in the image above that the project titled “Loss” does not have its own folder. This is a bad habit by me and I do not recommend doing this.
Another beautiful thing about this set up is, now you can access your projects from anywhere in the world!
I hope this helps, and has helped you figure out how to more easily backup your music.
Let me know, what do you think is the best way to back up your music files?
If you have any questions please feel free to get in contact with us!
https://openeyestudios.com.au/contact/
Much love,
Zak